


 მაგიური ავთო • Magic Avto Slot
 ყლეოგენ AI
Expert Tips to Turn JPG into EXP Embroidery File Like a Pro
Introduction
You have a crisp logo, a commercial embroidery machine, and a client waiting for finished products. But when you try to load that JPG, your machine just sits there. Blank screen. Nothing happens. I have been there, and it is incredibly frustrating. The truth is, a JPG and an EXP file are completely different languages. A JPG is a flat image made of pixels that tells your computer screen how to display a picture, but it contains zero mechanical instructions . An EXP file is machine code that dictates precise coordinates for the embroidery hoop, telling the machine exactly when to drop the needle, jump, or trim the thread .
Turn JPG into EXP Embroidery File is the critical skill that separates smooth production runs from endless frustration. But here is the thing. This is not just about clicking a button. It is about engineering a stitch pattern that will hold up on fabric, run efficiently, and look professional. Let me walk you through the expert tips that will have you converting files like a pro in no time.
Understand the EXP Format First
Before you even open your software, you need to understand what you are actually creating. The EXP format serves as the universal commercial language for embroidery, originally designed for Melco machines and now used across commercial and high-end home systems like Bernina .
Here is the critical detail that trips up most beginners. EXP files do not store thread colors natively. They only save a "stop" command for color changes, meaning you must manually assign thread colors on your machine's control panel . This is completely different from home machine formats like PES, which store color information within the file.
To make things even more interesting, there are actually two EXP formats floating around out there . Melco EXP is the commercial format with no thread colors, pulling whatever default thread colors your software happens to use. Bernina USB EXP is the home machine format that does contain thread color data . For Bernina machines using USB EXP, you actually need three files for each design: the EXP file itself, an INF file that stores the thread colors, and a BMP file that shows a picture of the design on the machine screen . Using the wrong version can scramble your colors or cause the file to be rejected entirely.
Start with a Clean, High-Quality Image
Professional results start with professional preparation. You cannot digitize garbage and expect gold. The quality of your input image is the most significant factor you control .
Here is what I recommend for prepping your JPG. First, if you have access to vector files like AI, EPS, or SVG, use those instead. Vector graphics provide crisp, scalable paths that are infinitely easier to digitize accurately . If you only have a JPG, make sure it is high resolution, at least 300 DPI .
Then comes the simplification step. Open your JPG in a basic photo editor and take a hard look at it. Increase contrast to make edges pop, which helps define shapes for digitizing. Enlarge any text smaller than a quarter inch because anything smaller will likely become a blurry blob of thread. Thicken fine lines because hairline details will not stitch well. And eliminate gradients and shadows by converting subtle shading into distinct, solid color blocks . Embroidery works in flat color zones, not subtle transitions.
This ten-minute preparation step dramatically increases your chances of a clean, recognizable final design. Do not skip it.
Choose the Right Tool for the Job
The "right way" to convert JPG to EXP involves selecting a method that respects the complexity of the task . You have three main options.
Option A: Professional Digitizing Services
For most people seeking a clean result, this is the optimal path. You upload your prepped JPG to a reputable service, specify your machine type and desired size, and a human expert digitizes it using professional software . These experts understand fabric behavior, thread dynamics, and machine nuances in ways that automated tools cannot replicate. They apply proper underlay, stitch types, and pull compensation specifically for your target fabric. Prices start around ten dollars per logo, and turnaround times are often within hours. Most services offer free edits until you are completely satisfied . For business owners, this approach saves time, prevents costly mistakes, and ensures consistent quality.
Option B: Professional Digitizing Software
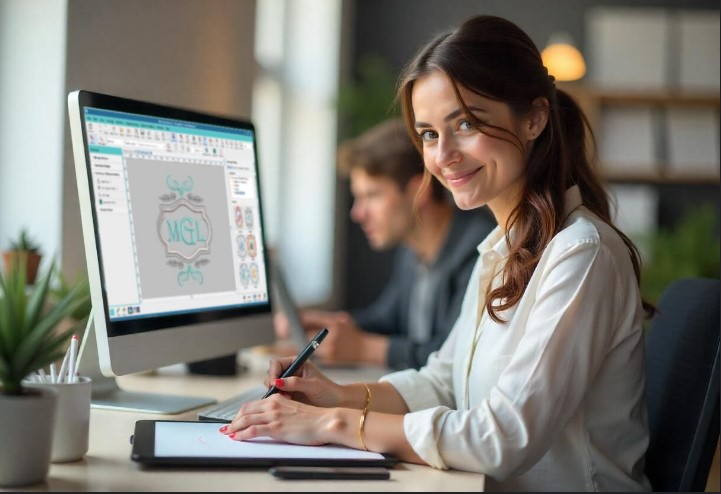
If you are committed to learning the craft and digitize regularly, invest in quality software like Wilcom EmbroideryStudio, Melco DesignShop, or Hatch Embroidery . These tools give you complete control over every stitch parameter. You manually trace and digitize the image, learning how underlay stabilizes, how density affects feel, and how pull compensation maintains shape. The downside is cost and learning curve. Professional software can cost hundreds or thousands of dollars, and mastering it takes considerable time .
Option C: Free Open-Source Options
If you are on a tight budget and willing to learn, Ink/Stitch offers a free open-source alternative . This plugin runs inside Inkscape, a free vector graphics program, and allows you to import JPGs, trace them into vectors, assign stitch parameters, and export as EXP . However, there is a steep learning curve. While the software is free, you will pay with your time .
What to avoid? Fully automated online "JPG to EXP converters" that promise instant results. These tools ignore critical steps like underlay and fabric-specific settings, producing files that are almost guaranteed to cause puckering and poor registration . The cheap price is never worth the ruined materials.
Never, Ever Skip the Underlay
This is the most important technical tip for cleaner stitches. Underlay is the foundation of your embroidery, a series of stitches laid down before the decorative top stitching . It stabilizes the fabric, preventing the shifting and puckering that destroys design cleanliness.
A proper digitizer will apply different types of underlay to different parts of your design based on the fabric. Edge-walk underlay secures the edges, center-walk underlay provides a stable spine, and zigzag underlay adds loft for better coverage . With a good underlay, your top stitches will lie flat and smooth, colors will be vibrant, and the design will be locked securely to the fabric. An EXP file created without underlay is built on sand. It will pucker and distort, no matter how beautiful the top stitches are .
Communicate the Fabric to Your Digitizer
If you use a service, this is your most critical instruction. If you use software, this is your guiding parameter . Different fabrics behave dramatically differently under the needle. A design digitized for a stiff hat will pucker on a stretchy t-shirt. The right density, underlay, and pull compensation settings are entirely dependent on the fabric.
Always tell your digitizer or input into your software exactly what fabric you are using. "This design will be stitched on heavyweight cotton twill" is much more useful than just "a hat" . Providing this information ensures the EXP file is engineered for your specific application, which is the very definition of doing it the right way.
Embrace the Test Stitch
The right way is a process, not a single action. Your perfectly prepared EXP file is still a theory until it is proven on fabric . Hoop a scrap piece of the exact fabric you will use for the final project, use the same stabilizer, and stitch the entire design .
Analyze it with a critical eye. Is it flat? Are all details clear? Do the colors align perfectly? Does it feel appropriately flexible? If there are minor issues like a slight pucker or density that is too tight, you can now go back to your digitizer for a precise revision or adjust your software settings. This test stitch is your quality control checkpoint and transforms a "good enough" file into a perfect one.
Common Mistakes to Avoid
Even with the right tools, pitfalls await. One of the most common mistakes is using the wrong EXP version. Melco EXP and Bernina USB EXP are not interchangeable, and using the wrong one can scramble your colors or cause the file to be rejected .
Another frequent issue is skipping the test stitch. No software simulation can perfectly predict how a design will behave on actual fabric . Testing catches issues like puckering, thread breaks, or color mismatches early. And do not fall for the free online converter trap. These tools rarely deliver commercial-quality results and often create files that cause machine jams or produce terrible embroidery.
Conclusion
Turning a JPG into an EXP embroidery file is not as simple as changing a file extension. It is a detailed engineering process that requires the right preparation, the right tools, and the right mindset. Start with a clean, simplified image. Choose a method that matches your needs, whether that is professional services, professional software, or free open-source options. Never skip underlay, always communicate your fabric type, and embrace the test stitch as a mandatory quality check.
With these expert tips, you can turn any JPG into a production-ready EXP file that runs smoothly on your commercial machine and produces beautiful, professional embroidery every time. Happy stitching.

 English